DIY Garage Floor Kit vs. Professional Coating: What Seattle Homeowners Find After 2 Years
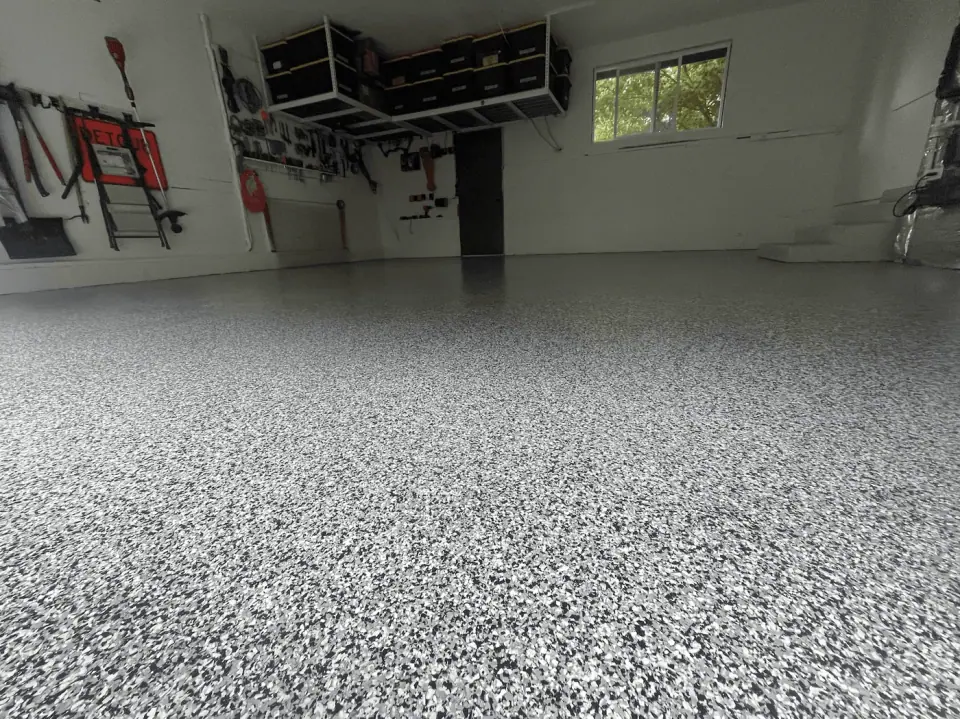
Short answer: A hardware-store epoxy kit usually lasts one to three years in a damp climate before it peels. The kits use a thinner coat, skip real surface prep, and almost never include a moisture test. That's not a knock on doing it yourself. It's about what the kits leave out, and Seattle's moisture makes the gap show up faster than it would somewhere dry. Weighing plain paint instead of a kit? That comparison is on garage floor paint vs. a coating.
This guide is about the decision: what DIY really costs in money, time and risk, and when it's the right call. If you've already picked DIY and want to compare brands, each maker's data-sheet numbers are on our page about garage floor epoxy kits.
What the DIY weekend really involves
Family Handyman calls an epoxy garage floor "one long weekend" and rates it intermediate. For a two-car garage, it looks like this:
- Friday night: empty the garage and scrub out the oil spots, so they dry overnight.
- Saturday: pick up the rented grinder, grind the floor, then do the edges by hand. Vacuum up every bit of dust.
- Sunday: fill the cracks and give the filler a few hours to set. Then mix, cut in the edges, roll the floor and throw the chips.
- Monday: the clear top coat, at least 16 hours after the first coat.
- The next three days to a week: the car stays out while the floor cures.
One Seattle rental shop rates its single-head grinder at about 200 to 250 square feet an hour. That's two hours of machine time for one pass over a two-car garage, before the edges, which you do on your knees. Many big-box kits are water-based, and in damp Seattle air the water leaves slowly, so drying can run past the label's times.
Plan on two people. Once a batch is mixed, the clock is running: a water-based kit gives you an hour or two at room temperature, less when it's warm. One person mixes and cuts in the edges while the other rolls.
The tools a kit doesn't include
The box covers the coating, an etch and the chips. Doing the job right takes more:
- A floor grinder: about $150 to $250 a day to rent, plus $50 to $100 in diamond tooling. It weighs 150 pounds or more, so you'll need a truck and a second person to load it.
- A dust vacuum that hooks to it: around $100 a day at Seattle-area rental counters. A household shop vac blows the finest dust straight back out.
- A hand grinder with a diamond cup wheel, for the edges the big machine can't reach.
- Safety gear: a real respirator, not a paper dust mask, plus eye protection, nitrile gloves and long sleeves.
Check the counter's hours first: some close on weekends. Why the grinder matters more than anything in the box is on our page about diamond grinding vs. acid etching.
The skills it takes, and the risks
No single step is hard. The hard part is doing each one on time, with no second try once the coating is down:
- Keeping a wet edge. Work in sections and always roll back into wet coating, or the lap lines show for good.
- Throwing the chips. Toss them up and let them fall, so they land evenly. Bare patches and clumps show through the top coat.
The bigger risks are the ones you can't see:
- Silica dust. Grinding concrete makes a fine dust that scars the lungs, and the damage doesn't heal. In a NIOSH study, workers grinding concrete without a dust shroud breathed 35 to 55 times the recommended limit. Use the dust vacuum and the respirator, and keep family and pets away.
- Skin allergy. Uncured epoxy can cause a skin allergy, and once you have it, it usually stays. DermNet, a dermatology reference, says the resin gets through ordinary rubber gloves in about 30 seconds, so wear nitrile. If it gets on your skin, wash with soap and water, not solvent.
Where they run into trouble
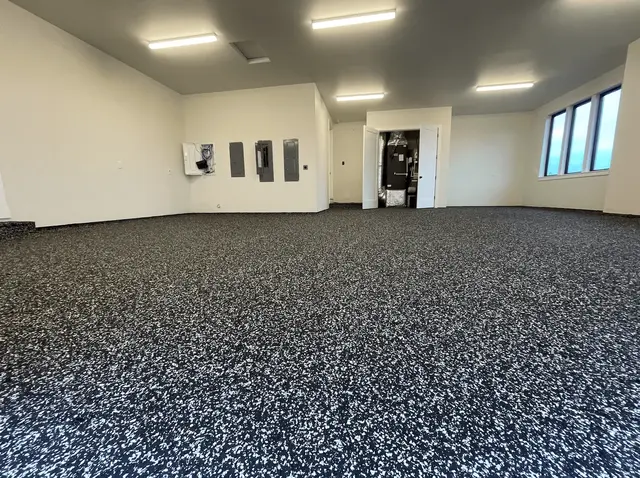
Three things separate a kit from a professionally installed floor, every time:
- Prep. Most kits tell you to etch the floor with acid, or skip prep entirely. Without diamond grinding, the coating has a weaker grip on the slab from day one.
- No moisture test. A kit doesn't come with one, and most homeowners have no way to know whether their slab is a risk. Our moisture guide explains why that matters. It's the single biggest predictor of early peeling.
- Thickness. Kits go on much thinner than a professional floor. Thin coatings lift under hot tires, wear faster, and have less material holding on to a slab that moves with the weather.
In a dry climate, a thin, lightly prepped coating can hold up for years, because nothing pushes against it. In Seattle, the same floor fights ground moisture and damp air most of the year, which is why DIY floors here sit at the short end of the one-to-three-year range.
Signs a DIY floor is already failing
It usually starts with small bubbles or a slightly raised patch, near a joint or where a car sits most. Left alone, the patch grows and flakes at the edges, showing bare concrete. Hot tires often make it visible, but the real cause is usually moisture that's been building for months. The coating didn't cause it. It just revealed it. How to read the failure, cause by cause, is in why epoxy garage floors peel.
What a failed DIY floor costs to fix
You can't coat over a kit that's peeling. Anything you put on a coating that's letting go fails with it. So the first line on a repair quote is removal: grinding the old kit off to bare concrete, at about $1 to $3 a square foot. On a 450-square-foot two-car garage, that's $450 to $1,350 before the new floor starts.
Where it lands depends on the kit. A thin coat that's lifting in sheets comes off fast. One that went down cold and never fully hardened is gummy, and it grinds slowly. Then the slab gets what the kit skipped: crack repair, a moisture test and, if the slab shows the signs, a barrier primer. All in, a redo on a two-car garage usually lands between $2,200 and $6,800. How we decide between a recoat and a full redo is on our page about coating over an old epoxy floor.
The real cost comparison, redo included
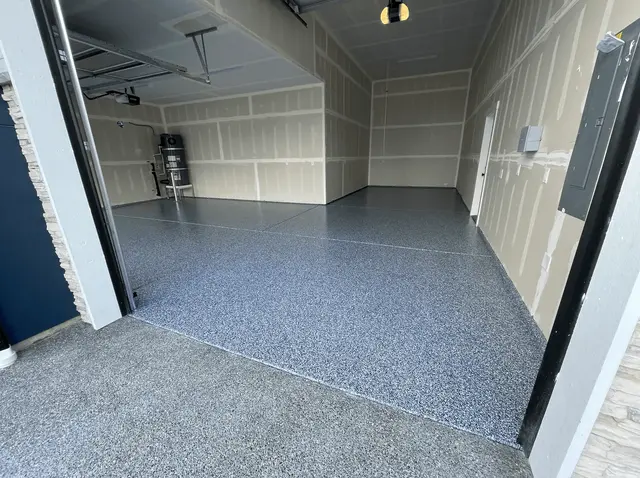
Up front, a kit is clearly cheaper than a professional floor. The math changes once you add the grinder and count the redo. Kit, grinder, diamonds and dust vacuum come to roughly $550 to $900 a round. Over 15 years, for a two-car garage of about 450 square feet:
- Kit floors redone every three years: five rounds, about $2,750 to $4,500, and five long weekends. That's the good case.
- Kit floors redone every two years: seven or eight rounds, about $3,850 to $7,200.
- One professional floor: $1,600 to $5,800, installed once. That's about $110 to $390 a year.
- A kit first, then a professional floor: the professional floor, plus what the kit cost, plus $450 to $1,350 to grind the kit off.
The money lands closer than the sticker prices suggest. The weekends don't. The last line is the expensive one: if you think you'll want a professional floor in the end, a kit in between adds roughly $700 to $2,250.
When DIY is the right call
To be fair to the kits: in the right garage, a kit is a reasonable, cheap choice. Five questions sort it out:
- Will a car park on it every day? If it's storage, a rental or a workshop nobody drives into, a kit's short life matters far less.
- Does the slab pass the plastic-sheet test? Tape a square of plastic to the floor overnight. If there's moisture under it in the morning, stop there. No kit includes a barrier primer.
- Can you wait for warm, dry weather? Most kits want the slab at 55 degrees or warmer, which in an unheated Seattle garage means summer.
- Is the concrete bare? Old paint, a sealer or an earlier kit has to be ground off first, and that's the hardest part of the job.
- Do you have two people and three free days?
Five yeses, and a kit is a fair call. Then grind even if the kit says etch, and keep the car off for the label's full cure time, because hot-tire pickup is one of the most common ways a marginal bond fails early. A failed moisture test is reason enough to skip the kit.
The honest comparison
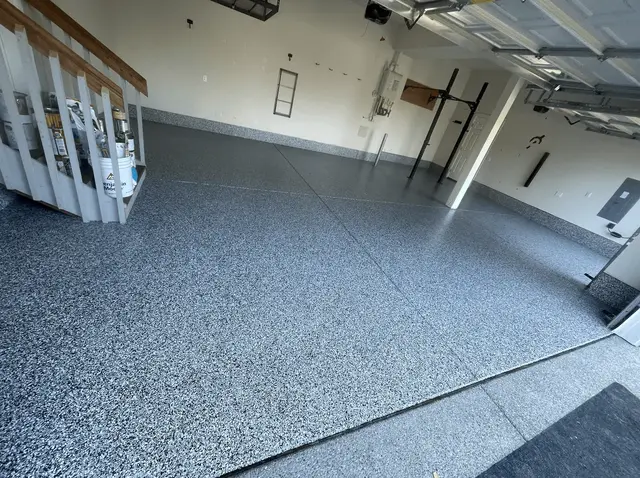
A professionally installed polyaspartic floor, meaning diamond-ground prep, a moisture-tested slab, full flake, and a polyaspartic top coat, carries our lifetime adhesion warranty. It costs more up front than a kit. It's also built for exactly the conditions a kit struggles with here.
DIY or professional: common questions
How long do DIY garage floor epoxy kits last?
Usually one to three years before they peel, especially in damp climates, because they go on thin, skip real prep, and almost never include a moisture test or barrier primer. A professionally installed polyaspartic floor carries our lifetime adhesion warranty.
Is DIY epoxy worth it for a Seattle garage?
It can be, for a low-traffic storage area where looks and lifespan matter less. For a daily-use garage with Seattle's moisture, the missing moisture test and the thin coat make early peeling far more likely than in a dry climate.
How much does a DIY garage floor kit cost?
A Rust-Oleum EpoxyShield 2.5-car kit, which includes the epoxy, an etch and decorative chips, was listed from $137.43 at Walmart on October 7, 2026. Add a clear top coat and a two-car garage comes to a few hundred dollars in materials.
Is a DIY floor cheaper than a professional one in the long run?
Not by much, once you count the redo. A kit done right, with a rented grinder and dust vacuum, runs about $550 to $900 for a two-car garage and lasts one to three years here. Redone every three years, 15 years comes to about $2,750 to $4,500, plus five long weekends. A professional floor is $1,600 to $5,800, once.
Can you coat over a peeling DIY epoxy floor?
Not over it. A failing coating has to be ground off so the new floor bonds to bare concrete, at about $1 to $3 a square foot, or $450 to $1,350 on a 450-square-foot two-car garage. Peeling usually points to moisture too, so that slab gets a close moisture check and, if it shows the signs, the barrier primer.
Want to see a flake finish before deciding either way?
Our AI floor preview shows a real finish on a photo of your actual garage. Useful whether you go DIY or pro.
Try the AI Floor Preview